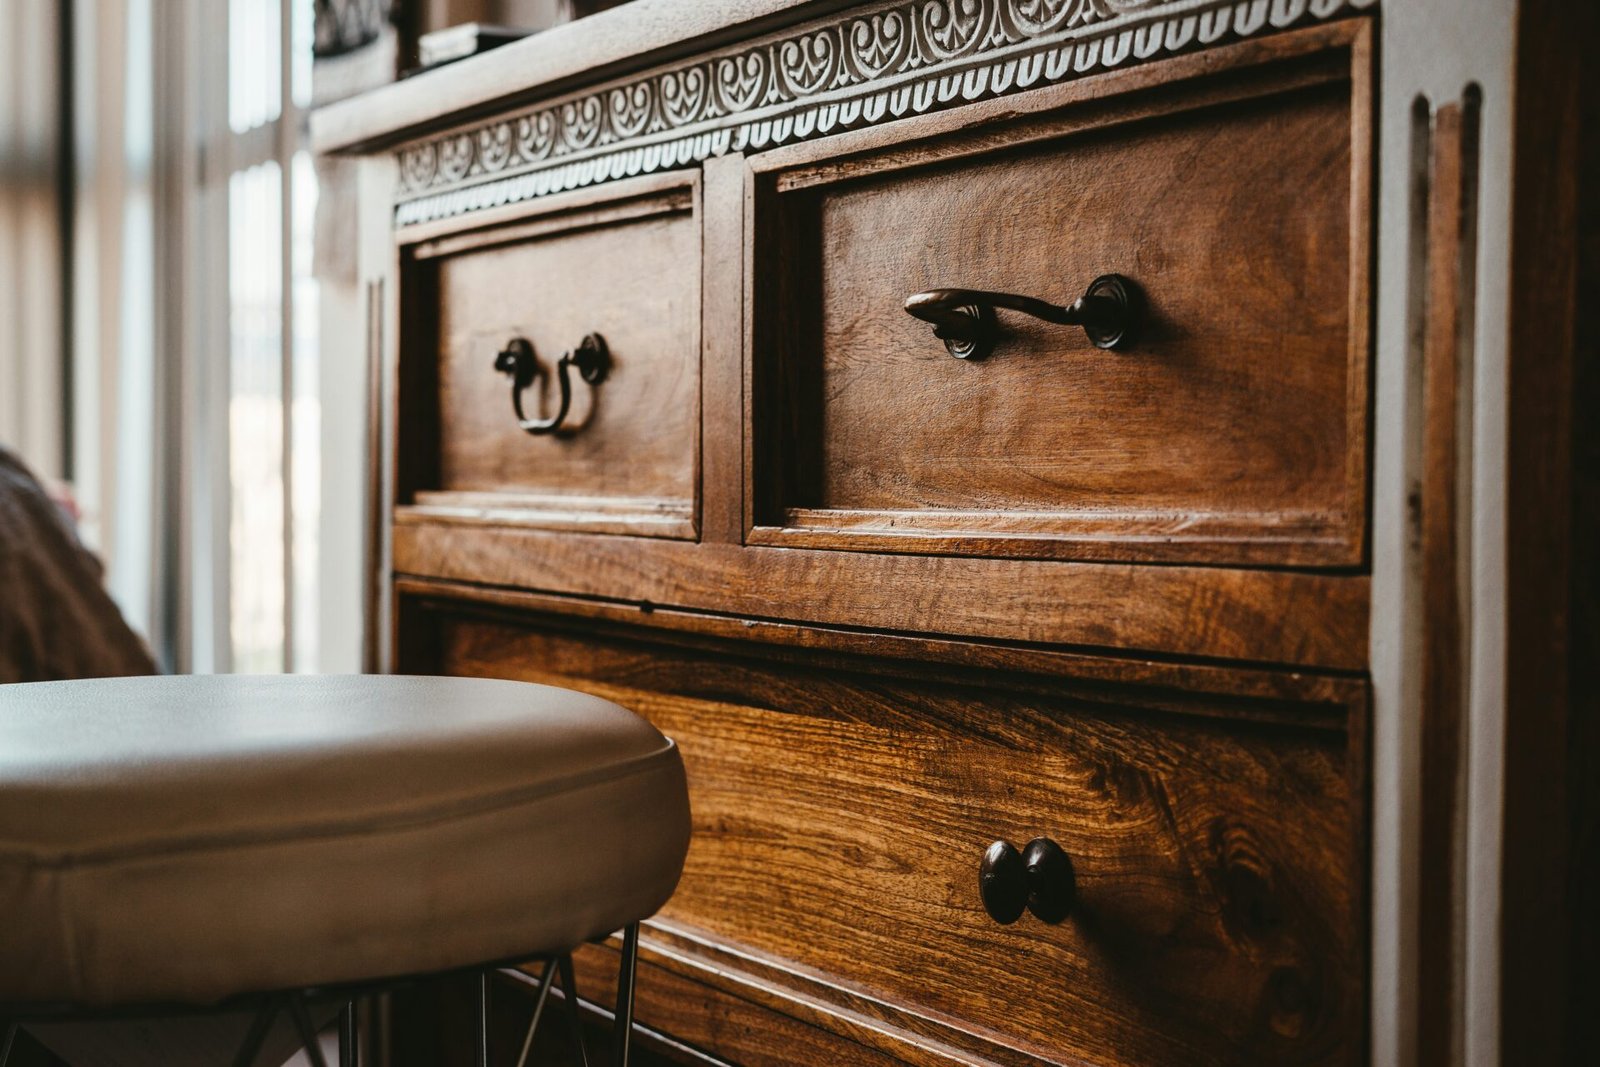
Painting your interior wood shutters can be a gratifying way to update the look of any room. Knowing how to properly paint wood shutters is essential for achieving the best results. In this article, we’ll discuss how to paint interior wood shutters from start to finish, from surface preparation to choosing the right type of paint and brush, all the way up to the final finishing touches.
While painting interior wood shutters, you will see a lot of improvement in your home. You will completely change the look and feel of your room when you paint the interior of your home.
You can change the color of your interior or trim the look of your room with paint.
Step-by-step guide on how to paint interior wood shutters
Step 1: Removing the shutters

First, remove the shutters from the windows and take them to a well-ventilated area or sheltered place. You can take the shutters of the windows to the garage or patio. The manufacturer highly recommends not painting the shutters in direct sunlight.
The reason is that the paint dries irregularly in the sunlight. Put an old sheet beneath the work area to prevent the dripping of the paint to the ground. This is because it is very difficult to remove the dried paint from the floor or ground.
Step 2: Removing the old paint

First, take a putty knife and remove any peeling or flaking paint. Then using a paint stripper, apply a thin light coating to the shutters. You have to look for the instructional manual on the paint to prepare before purchasing.
The reason is that the paint stripper reacts differently to different materials such as synthetic material or real wood. These types of paint strippers react much better to two different chemicals. So apply the stripper and wait for about half an hour to strip off the remaining old paint.
Step 3: Washing the shutters

When all the paint has been removed using a paint stripper, you have to wash the shutters thoroughly. Typically, people use a scrubbing brush and a mixture of soap and hot water to wash the synthetic shutters.
After washing, you have to make sure that the soap is properly rinsed off. Sometimes, the remaining residue will prevent the new coat of paint from applying correctly. Unfortunately, sometimes the water seeps into the grain of the real wooden shutters.
These wooden shutters may warp, so it is better to clean them with a feather duster or a soft brush vacuum attachment. You can dry the shutters using a towel or simply leave them to air dry.
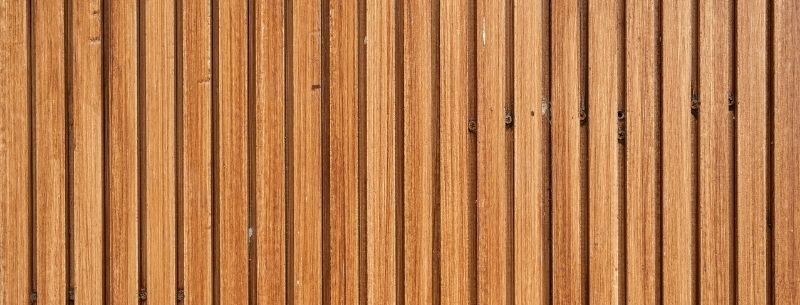
Step 4: Choosing a Paint
When painting wooden shutters, you must be very careful about the paint you choose. The reason is that different paint types react differently to certain materials. For example, urethane resins attach to vinyl better, whereas latex-based paints are good for use on real wood.
It is better to choose spray paint because it is helpful in ensuring that even layers are applied. On the other hand, using a paint gun is also effective in obtaining the same effect.
Step 5: Painting the shutters

It is better to apply a coat of oil primer at the start before painting the wooden shutters. It is noted that you do not require a primer for plastic shutters or vinyl shutters. However, many people use water-based primers on plastic or vinyl shutters.
When you start applying the paint, make sure that you are out of direct sunlight or strong winds. Preventing these conditions will give you a prime effect. Also, make sure that the primer is also wholly dried before applying the paint.
If you are using the paint gun, apply the two coats of paint in light and even layers to the shutters. When applying the paint, wait for the paint to fully dry between applications.
Step 6: Replacing the shutters
When the final coat of the paint has dried, you can quickly fix the shutters in the windows. Now your work has been completed, and also you get the new look and feel of your room.
FAQs:
Is it good to brush paint the shutters or spray paint the shutters?
We all know that the easiest way of painting the shutters is to use spray paint. Make sure that you are painting the window shutters completely from the front and the back.
To avoid the sticking of the paint, it is good to keep the slats slightly open. When the first coat of the paint is dried, turn the shutters upside down. You must also see the missed spot while applying the second coat.
Which paint is considered best for shutters?
If you want to go for plastic or vinyl shutters, you must go for acrylic latex paint. While using acrylic latex paint, if you use a primer before painting, it will increase the adhesion power and allow better coverage by the topcoat.
While using the wood shutters, what kind of paint do you use?
You can choose oil-based paint with some oil-based primer when painting the wooden shutters. However, you can also go for water-based paint with latex paint. On the other side, you can also mix the custom color according to your choice.
Final Thoughts:
In this post, you have a clear idea of how to paint the interior wooden shutters. It is a step-by-step guide to get the desired results according to your choice. Here you will also know about different materials on wooden shutters or plastic shutters.
So by painting the interior wooden shutters, you can simply give a new color scheme to your room. It is highly recommended to buy paint suitable for wooden surfaces to avoid paint flaking later on.