

Learn how to paint an arch on a wall with our step-by-step guide. Create a stunning focal point in any room with this easy DIY project. Get tips and tricks for a flawless finish.
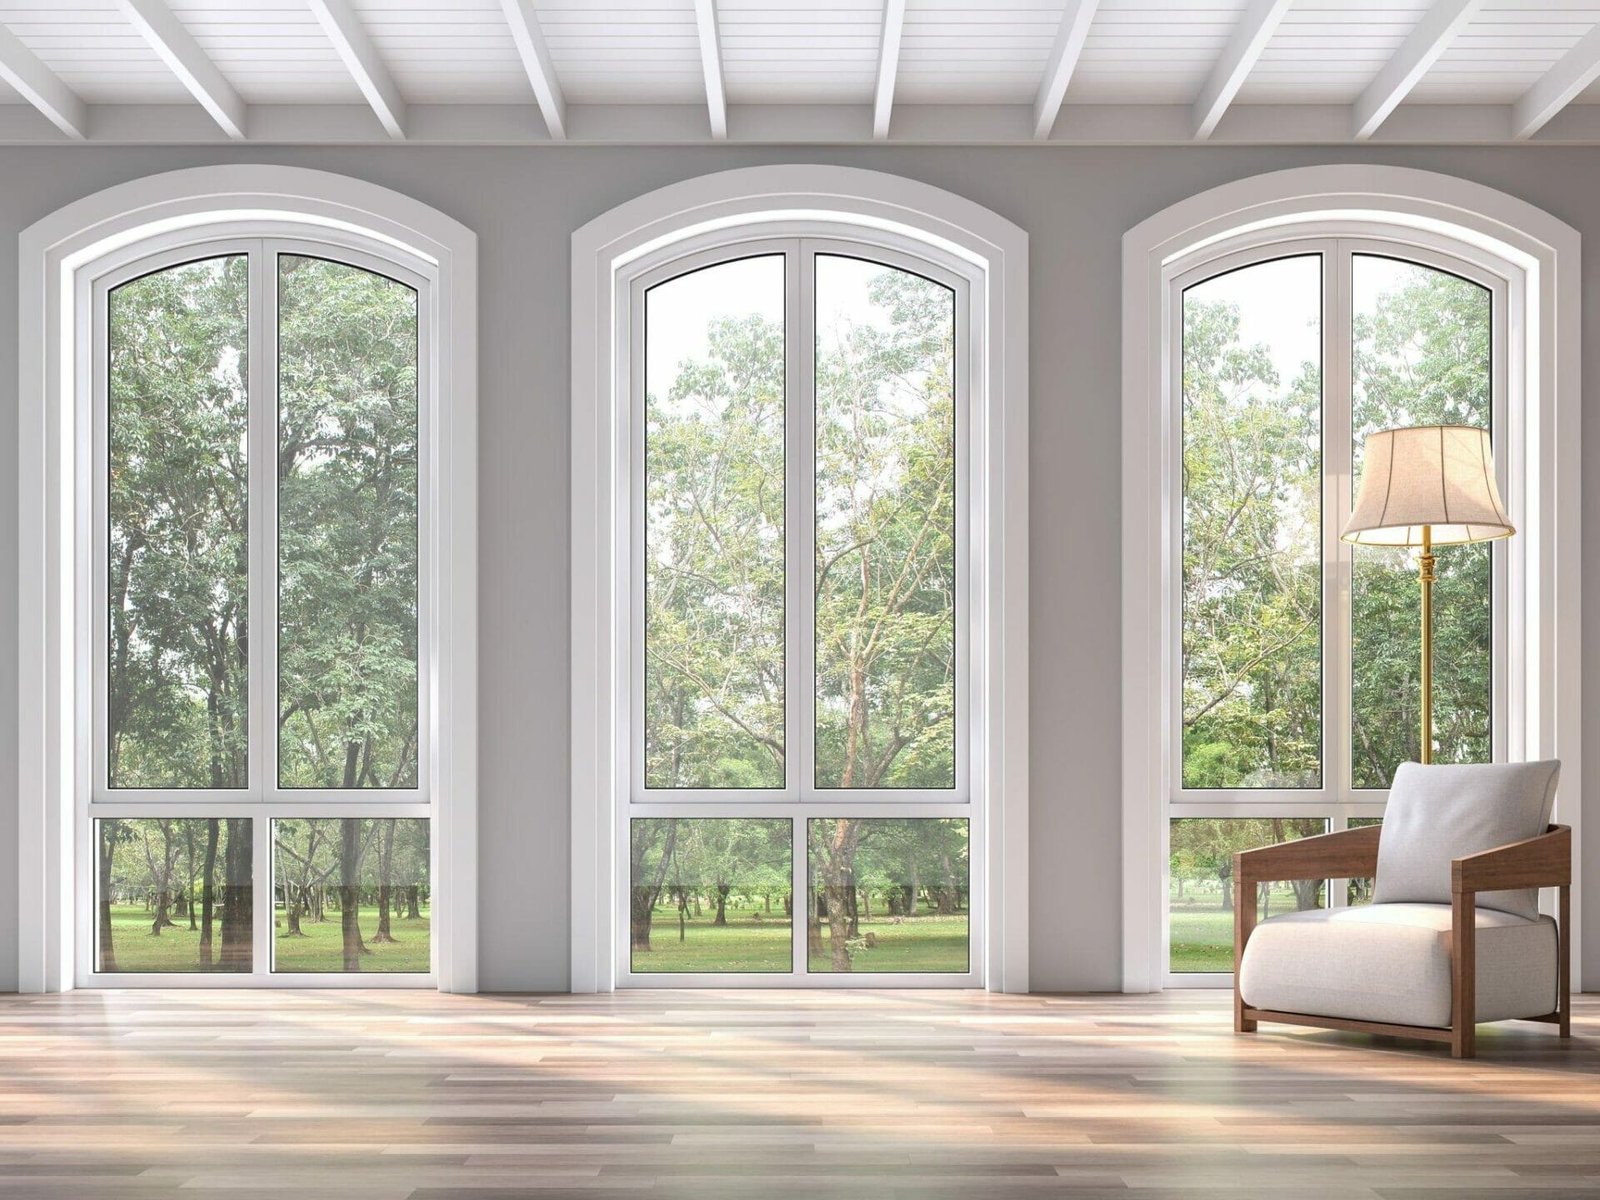
Have you been searching for a way to add some architectural interest to a plain, boring wall? Look no further than painting an arch! This simple DIY project can be done in just a few hours and will instantly transform any room.
Whether you want to create a subtle accent or a bold statement, painting an arch is a great way to customize your space. With our step-by-step guide, you’ll have all the tips and tricks you need to achieve a flawless finish. So grab your paintbrush and let’s get started!
1. Preparing the Wall Surface:
Before you begin painting an arch on your wall, it is crucial to prepare the surface. This includes cleaning, sanding, and filling any holes or cracks. To achieve a stunning home makeover, painting an arch on your wall is an excellent idea. However, before you start this project, it is crucial to prepare the surface of the wall properly. Cleaning the wall surface is the first step in preparing it for painting. Use soap and water to clean off any dirt or grime that has accumulated on the walls over time.
After cleaning, sanding comes next. This process involves using fine-grit sandpaper to smooth out rough spots and create a smooth surface for paint application. Ensure you use a damp cloth to wipe down after sanding to remove any dust particles left behind.
The final step in preparing your wall surface for painting an arch is filling holes or cracks with putty or speckling paste. Let it dry completely before proceeding with sanding again! Once all these steps are complete, your wall will be ready for painting an arch that will transform any room into a beautiful space that reflects your style and personality!
2. Measuring and Marking the Arch:
The next step is to measure and mark the arch on the wall. This requires precision and accuracy, so take your time and use a level and measuring tape. Measuring and marking the arch on the wall is a crucial step when it comes to painting an arch for home decor. To ensure precision and accuracy, use a level and measuring tape. Start by measuring the width of the arch at its widest point, which is typically at the base.
Next, measure from one edge of the wall to find where you want to place your starting point for the arch. Use a pencil to mark this spot on the wall. From there, measure up from that starting point to determine how tall you want your arch to be.
Once these measurements are taken, use a flexible curve ruler or string to draw out the shape of your desired arch. Make sure that both sides match up evenly before continuing with painting. Taking extra care during this step will help ensure a stunning final product that perfectly accents any room in your home.
3. Creating a Template:
To ensure that your arch is symmetrical and consistent, it can be helpful to create a template. This can be made from cardboard or paper and used as a guide while painting. Creating a template is an essential step in painting an arch on your wall. It ensures that the design is precise and consistent throughout the project. Making a template from cardboard or paper is simple and can save you time and effort while painting.
To create a template, first, sketch out your desired arch shape on paper or cardboard using a pencil. Then cut along the outline of the design to create the template. Hold up the template against your wall to ensure it matches your vision before moving forward with painting.
Using this guide will help you avoid mistakes like uneven lines or shaky hands when drawing freehand, ensuring that you achieve professional-looking results for your home makeover project. Additionally, creating a reusable template means that you can quickly replicate this design in other areas of your home without having to start from scratch each time.
4. Choosing the Right Paint:
When it comes to painting an arch on a wall, it is important to choose the right type of paint. Consider factors such as surface texture, color, and finish.
1. Surface Texture: When it comes to painting an arch on a wall, the surface texture of the wall can play a crucial role in determining the type of paint you should use. If your wall has a rough and uneven texture, it is recommended that you opt for a thicker paint with high viscosity as this will help cover up any imperfections on the surface.
2. Color: Choosing the right color for your arch is just as important as choosing the right type of paint. You need to consider factors such as lighting and existing decor when selecting the color for your arch. For instance, if your room is already brightly lit, you may want to opt for muted or pastel shades that create a calming effect.
3. Finish: Finally, choosing the right finish can make all the difference in giving your arch a professional look. Matte paints are great at concealing imperfections and blemishes on walls but may not be suitable if you’re looking for something more eye-catching and vibrant. Glossy finishes are perfect if you want to add some shine and depth to your arch while satin finishes offer a happy medium between matte and glossy finishes.
5. Painting the Arch:
With your surface prepared, arch marked, and paint selected, it’s time to start painting! Use a brush or roller to carefully apply the paint, being mindful of any drips or smudges. As you start to paint the arch, it is important to focus on precision. Begin by using a small brush to carefully outline the edges of the arch, ensuring that no areas are missed. Once this is complete, use a larger brush or roller to fill in the rest of the area with your chosen color.
Be mindful of any drips or smudges that may occur during this process and quickly correct them before they have a chance to dry. It may be helpful to keep a damp cloth nearby for easy cleanup.
For best results, allow each coat of paint to fully dry before applying additional layers. This will help prevent any unsightly streaks or unevenness in your finished product.
Remember, painting an arch on your wall can be a fun and rewarding DIY project that adds personality and style to any room. With careful preparation and attention to detail during the painting process, you can achieve stunning results that will leave you feeling proud of your work for years to come.
6. Adding Details and Accents:
Once the arch is painted, you may want to add some additional details or accents. This could include adding a border or trim, or using a different color or finish for certain areas. Adding details and accents to your painted arch can take it from basic to beautiful.
One way to add a border or trim is by using painter’s tape to create a clean line around the edges of the arch. This will give it a more defined look and make it stand out even more. You can also experiment with different thicknesses of the border or trim to achieve different effects.
Another way to add interest is by using a different color or finish for the ceiling area above the arch. This can create a stunning contrast between the two areas, drawing attention to the architectural feature. A glossy finish on the ceiling can also help reflect light and brighten up any room.
Don’t forget about adding texture as well! You could try using stencils or decals on either side of the arch for an extra pop of personality. Remember, these additional details should complement your overall design scheme and enhance your space rather than overwhelming it.
7. Finishing Touches:
Finally, take a step back and admire your handiwork! Make any final touch-ups or corrections as needed, and enjoy your newly painted arch. Once you’ve finished painting your arch, it’s important to take a step back and admire your work. This is also an opportunity to spot any areas that may need additional touch-ups or corrections. Grab a small brush or sponge and carefully go over any spots that need more paint or smoothing out.
After completing any necessary touch-ups, allow the paint to dry completely before removing any masking tape. This will ensure clean lines and prevent smudging of the newly painted arch. Once the tape is removed, stand back and take in the beauty of your newly painted arch.
To truly accentuate your new arch, consider adding some finishing touches such as a complementary color on surrounding walls or coordinating decor items like picture frames or vases. These small additions can make a big impact on the overall look and feel of your space. With these final steps completed, you can now enjoy your stunning home makeover with pride knowing that you tackled this DIY project like a pro!
FAQs
1. How do I paint an arch on a wall?
To paint an arch on a wall, you will need to create a template using a compass or a piece of cardboard. Once you have the template, you can trace it onto the wall using a pencil. Then, you can use a small brush to carefully paint along the lines of the arch. It’s important to take your time and be patient to ensure a smooth and even finish.
2. What kind of paint should I use to paint an arch on a wall?
You can use any type of paint to paint an arch on a wall, but it’s important to choose a paint that is appropriate for the surface you are painting on. If you are painting on a smooth surface, such as a plaster wall, you can use standard latex paint. If you are painting on a textured surface, such as a stucco wall, you may need to use a thicker, more viscous paint.
3. Can I paint an arch on a textured wall?
Yes, you can paint an arch on a textured wall, but it may be more challenging than painting on a smooth surface. To ensure a smooth and even finish, you may need to use a thicker, more viscous paint and take your time when painting along the lines of the arch.
4. Do I need to use a primer before painting an arch on a wall?
It’s generally recommended to use a primer before painting any surface, including walls. A primer helps to create a smooth and even surface for the paint to adhere to, and it can also help to hide any imperfections in the wall. However, if you are painting on a surface that has already been painted and is in good condition, you may be able to skip the primer.
Conclusion
Painting an arch on a wall may seem daunting at first, but with the right tools and techniques, it can be a fun and rewarding project. By following the steps outlined in this guide, you can create a beautiful arch that will add a touch of elegance to any room. Remember to take your time, be patient, and have fun with the process. With a little practice, you’ll be a pro at painting arches in no time. So go ahead, grab your paintbrush, and start creating a stunning arch on your wall today!
Loading…


Leave a Reply
You must be logged in to post a comment.