

Learn how to paint a door to look like wood with our easy-to-follow guide! Transform the look of your home without breaking the bank.
Are you tired of the plain and boring look of your doors? Do you want to add a touch of warmth and elegance to your home without spending a fortune? Look no further! In this guide, we will show you how to paint your door to look like wood.
With just a few simple steps and some basic tools, you can transform the look of your doors and give your home a fresh new look. Whether you want to create a rustic, farmhouse feel or a sleek, modern look, the possibilities are endless. So, let’s get started!
1. Gather the Necessary Tools and Materials
Are you planning to start a new project? Whether you’re building a birdhouse or creating a painting, it’s important to have all the necessary tools and materials before you begin. This will ensure that you can work efficiently and effectively, without any interruptions or delays.
Firstly, consider the type of project you’re undertaking. If you’re building something, you’ll need tools such as a saw, hammer, nails, and screws. If you’re painting, you’ll need brushes, paint, and a canvas. Whatever your project may be, make a list of all the necessary tools and materials.
Once you have your list, it’s time to gather everything you need. Check your garage or storage room for any tools you may already have. If you don’t have everything, head to your local hardware or craft store. Don’t forget to compare prices and quality to get the best deal.
It’s also important to make sure you have the right safety equipment, such as gloves, goggles, and a mask. Safety should always be a top priority when working on any project.
Gathering the necessary tools and materials for your project is crucial for success. By being prepared, you can work efficiently and effectively, and avoid any unnecessary delays or interruptions. So, make your list, gather your tools, and get started on your project today!
2. Prepare the Door Surface
When it comes to painting or staining a door, the first step is to prepare the surface. This means cleaning and sanding the door to ensure a smooth and even finish. Here are some simple steps to prepare your door surface for painting or staining:
- 1. Remove any hardware: Before you begin, remove any hardware such as knobs, hinges, and locks from the door. This will make it easier to work on the surface and avoid getting paint or stain on the hardware.
- 2. Clean the surface: Use mild detergent and water to clean the door surface. This will remove any dirt, dust, or grime that may be on the surface. Rinse the surface thoroughly and let it dry completely.
- 3. Sand the surface: Use fine-grit sandpaper to sand the surface of the door. This will help to smooth out any rough spots or imperfections. Sand in the direction of the grain to avoid damaging the wood.
- 4. Wipe down the surface: After sanding, use a clean cloth to wipe down the surface of the door. This will remove any dust or debris left from the sanding.
By following these simple steps, you can prepare your door surface for painting or staining. This will ensure a smooth and even finish that will last for years to come. Remember to take your time and be patient – the end result will be worth the effort!
3. Apply the Base Coat
Are you tired of chipped and uneven nail polish? Do you want to achieve a flawless and long-lasting manicure? Then, it’s time to apply the base coat!
The base coat is a crucial step in any manicure routine. It acts as a barrier between your nails and the colored polish, preventing staining and promoting adhesion. Moreover, it smooths out any ridges or bumps on your nails, providing a uniform canvas for the polish.
To apply the base coat, start by cleaning and drying your nails thoroughly. Then, apply a thin layer of the base coat on each nail, making sure to cover the entire surface. Don’t worry if it looks sheer or streaky, as the purpose of the base coat is not to add color but to prepare the nails.
Let the base coat dry completely before applying the colored polish. This will ensure that the polish adheres well and doesn’t slide off or chip easily. Also, remember to apply a top coat after the colored polish to seal in the color and add shine.
By applying the base coat, you can extend the life of your manicure and enjoy a smooth and flawless finish. So, next time you reach for your favorite nail polish, don’t forget to apply the base coat first!
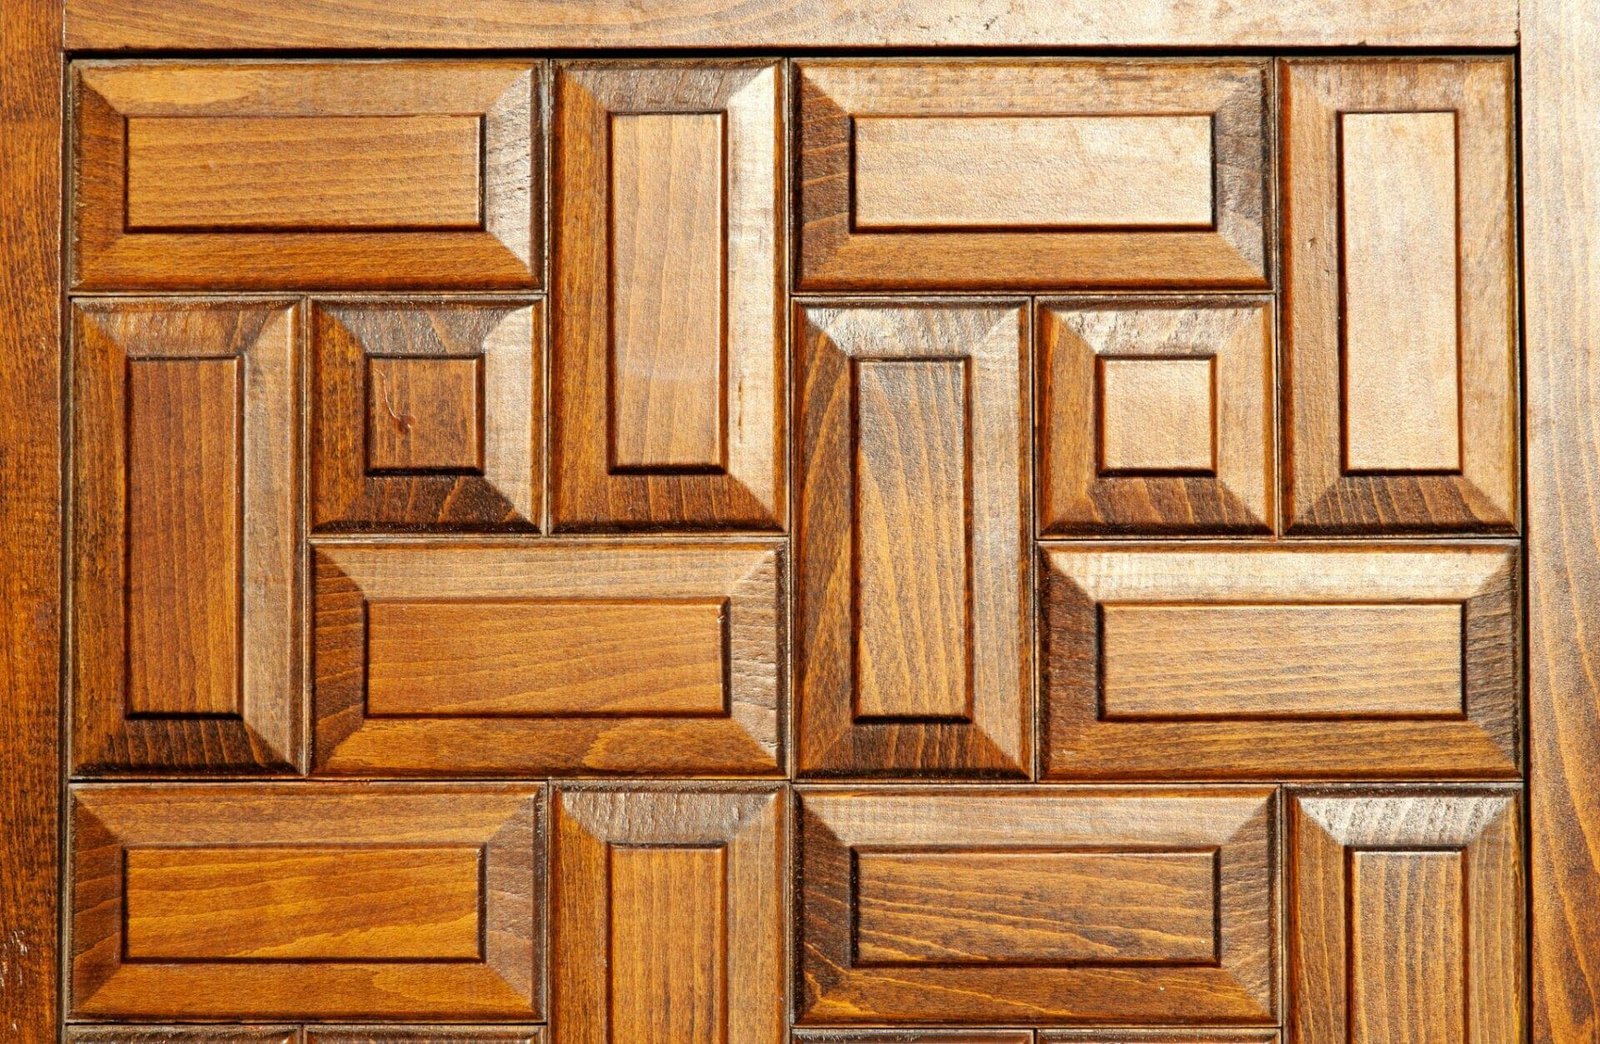
4. Create the Wood Grain Effect
Are you looking to add a touch of warmth and natural beauty to your home décor? Creating a wood grain effect is a great way to achieve this look. With a few simple steps, you can transform any plain surface into a stunning wood-like finish.
To start, gather your materials. You will need a base coat of paint in the color you want your wood grain to be, a darker shade of paint for the grain, a paintbrush, and a wood grain tool or a small piece of sponge.
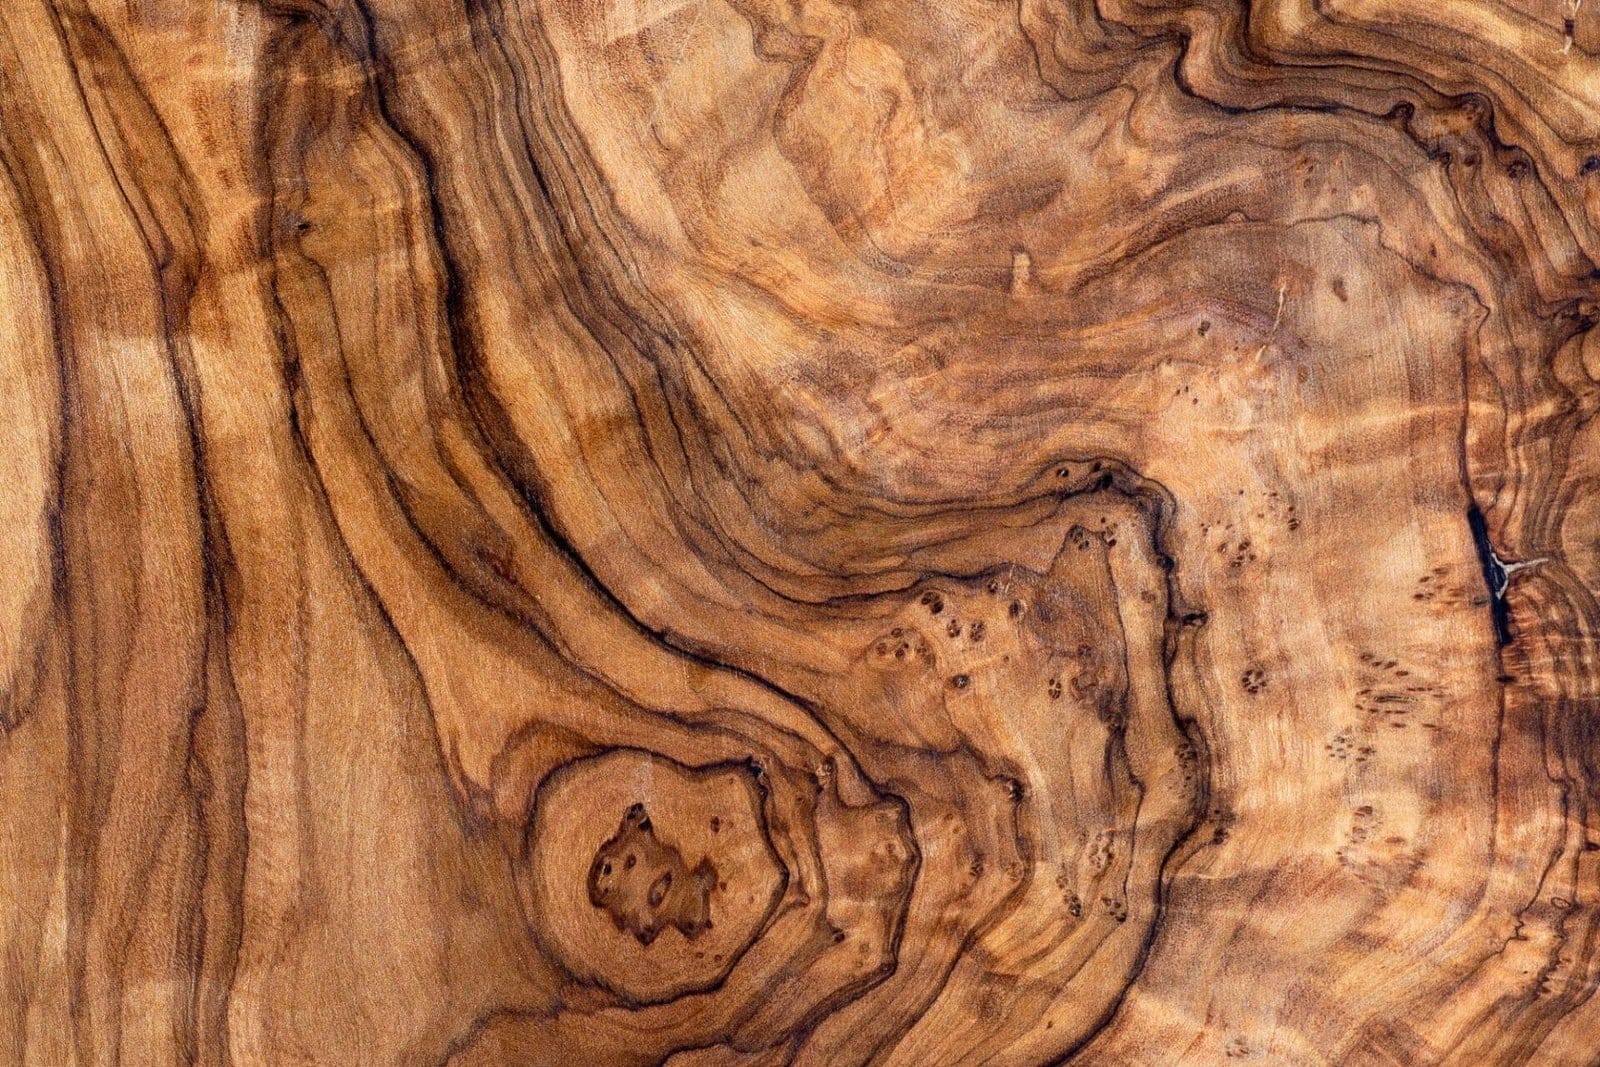
Begin by painting your surface with the base coat and let it dry completely. Once dry, use your darker shade of paint and a paintbrush to create thin, wavy lines on top of the base coat. These lines will be the grain of your wood.
Next, take your wood grain tool or sponge and drag it through the lines, creating a wood-like texture. Be sure to vary the pressure and direction to create a natural look.
Finally, let your wood grain effect dry completely before adding any sealant or protective coating.
With this simple technique, you can add a touch of nature to your home décor and create a warm and inviting atmosphere. So why not try it out and see the stunning results for yourself?
5. Seal and Protect the Finish
To seal and protect the finish of a door painted to look like wood, there are a few options. One option is to use a sealer, such as the one used in this tutorial from Average Inspired, which recommends applying three coats of sealer to the door after letting the gel stain dry. Another option is to use a water-based or oil-based polyurethane or wax finish, as suggested by Wood Fixes, and apply it according to the instructions on the product chosen.
FAQs
1. How to paint a door to look like wood?
To paint a door to look like wood, you will need a base coat of paint, a wood grain tool, and a glaze or stain. Apply the base coat and let it dry completely. Then use the wood grain tool to create the desired wood grain pattern. Finally, apply the glaze or stain to give the door a natural wood look.
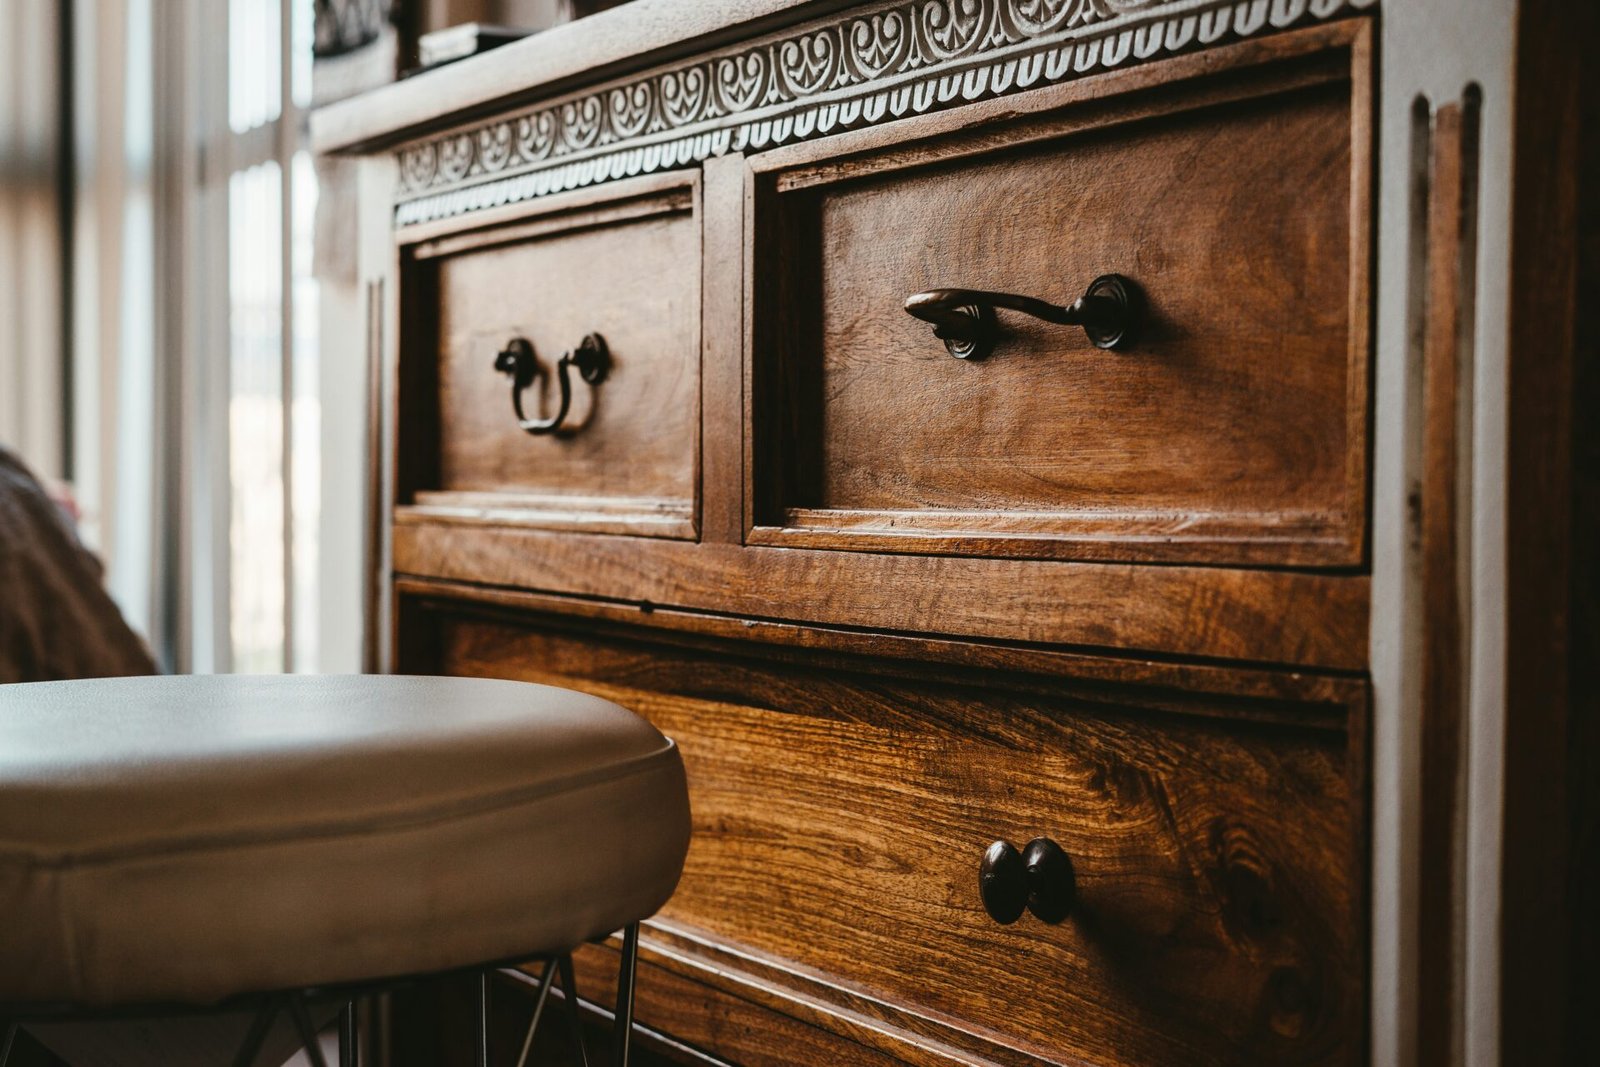
2. What are the benefits of painting a door to look like wood?
Painting a door to look like wood can give your home a natural and rustic look without the expense of real wood. It is also a great way to update the look of an outdated door or to match the wood accents in your home.
3. Can I paint a metal door to look like wood?
Yes, you can paint a metal door to look like wood. The process is similar to painting a wooden door, but you will need to use a special primer designed for metal surfaces. Once the primer is dry, you can apply the base coat, wood grain tool, and glaze or stain just like you would on a wooden door.
4. How long does it take to paint a door to look like wood?
The time it takes to paint a door to look like wood will depend on the size of the door and the complexity of the wood grain pattern you choose. Generally, it will take a few hours to apply the base coat and let it dry, and then another few hours to create the wood grain pattern and apply the glaze or stain. Overall, you can expect the process to take a day or two from start to finish.
Conclusion
Painting a door to look like wood is a great way to add a touch of elegance and warmth to your home. With the right tools and techniques, you can achieve a beautiful wood-grain effect that will impress your guests and add value to your property.
Remember to start with a clean and smooth surface, use high-quality paint and brushes, and take your time to achieve the desired effect. By following these simple steps, you can transform any door into a stunning wood-like masterpiece.
So, why not give it a try and see the amazing results for yourself? With the right approach and a little bit of patience, you can easily learn how to paint a door to look like wood and enjoy the beauty of nature in your own home.


Leave a Reply
You must be logged in to post a comment.