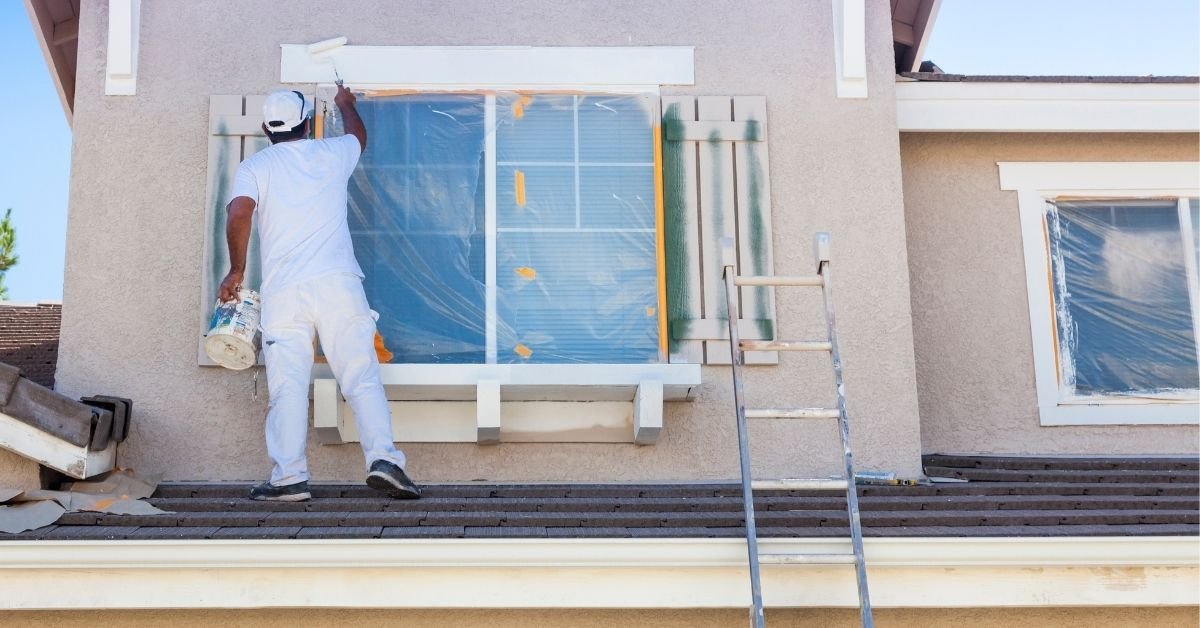
The best way to paint trim with paint sprayer is to first mask off the areas that you do not want to paint. Next, you can cover any openings in the windows or doors that are not being sprayed so that it does not get paint on them.
Turn your exhaust fans on and remove any pets from the area, as well as cover up any furniture or plants so they do not get covered in paint. Now you are ready for painting!
Tools Required to Paint a Trim:
- Paint
- Paint Sprayer
- Drop Cloth
You may find the Best Paint Sprayer for Trim here
How to Paint a Trim with Paint Sprayer:
These are the steps to paint trim with a paint sprayer:
Step 1: Wipe down all surfaces of the trim until it is completely dry. This includes the metal frame, wood frame, molding, fascia board, etc. You should wipe everything dry before starting this step.
Step 2: Prepare your surface by wiping away dirt and debris using an old rag dipped into denatured alcohol. Put some rubbing compound into the grooves inside your trim pieces to protect against rain. Apply primer if you did not use primer previously.
Remember that when you apply primer, set the gun at 45 degrees instead of 90 degrees (a higher angle will cause overspray). Work slowly and make sure you are covering every inch of the trim piece. Once you have primed the entire wood portion of your trim, leave the plastic part untouched.
If you find that you cannot clean out the primer, then scrape the small amount that has dried onto the plastic with a putty knife. Let this dry fully before applying the finish coat. If there is still primer residue left over after scraping, repeat these steps again till you are satisfied with how much primer remains on the plastic.
Step 3: Spray your trim piece with your base color. Make sure that you spray the entire trim piece. Do not be afraid to go outside of the lines if you need to.
Once you can no longer see the spray lines, inspect them closely going through each detail one last time. It may help to work backward and move forward. Come back to the beginning or end of a line to check for imperfections before continuing.
Do not worry about getting perfect lines. The goal here is to get perfect coverage. Take your paintbrush and smooth out the lines as you continue spraying. Over-spray until you reach the desired thickness. Stop spraying once you feel like it gets too thick.
Let all coats thoroughly dry before moving on to the next step.
Step 4: Add Clear Coats: You can apply two clear coat finishes or just one but generally I suggest using three coats of clear coat. You do not want the trim piece to look overly glossy so apply multiple layers. Start by sanding down any rough spots from previous coats. Use an orbital sander set at low speed and very fine-grit sandpaper. Sand lightly around the edges until they become smoother.
Next, use some 400-600 grit paper to buff out any scratches that you created during the first round of sanding. This should take care of most surface scratches but be careful not to remove your original paint job.
You can also add texture by rubbing pieces of beeswax into the areas where you intend to have more depth. Rub the wax in small amounts until it becomes sticky. Let the wax sit overnight then scrape off the excess and buff away.
Finally, let the piece dry completely between coats. If you are concerned about drying times, you can preheat your oven to 350 degrees Fahrenheit (180 Celsius).
Set the piece inside and turn it on for 10 minutes. Then wait another hour or so and repeat the process with heat again. Wait for a little longer after this second cycle than before so that the piece can cool completely.
After it has dried, let it rest for several hours. At this point, you could decide if you would prefer a matte finish instead of gloss.
For more, you can also watch this video tutorial on youtube: how to trim paint with a paint sprayer
FAQs:
What is the best way to paint a trim?
Painting trim with a paint sprayer is a great way to cut down on the time and effort it takes to complete a job. Painting with a paint sprayer leaves an even, smooth finish that can be completed in less than half of the time as painting with a brush. However, before painting, make sure all windows and doors are open and take precautions against overspray by masking any items you don’t want to coat.
What is the difference between a paint sprayer and a paint brush?
Paint sprayers are much quicker than paint brushes in terms of coverage, which is perfect for when you’re in a hurry. Paint sprayers are also particularly helpful when painting ceilings or other hard-to-reach areas. Another major advantage of using a paint sprayer is the ability to use both latex and oil-based paints without having to worry about clogging.
How to paint a trim with a brush?
Painting a trim with a brush is a difficult task. It can be achieved, but it takes a lot of time and patience. The paint can easily get trapped in small creases of the trim, causing the paint to dry improperly. This creates unwanted bumps in the paint. A much easier route is to use one of many different types of exterior painting sprayers, like the Wagner Power Painter Plus II, which helps create even coverage on any surface.
What is the best paint to use for painting a trim?
Painting can be a tricky business. There are so many choices for paint that it can be difficult to pick out the right one, especially for exterior house painting projects. The best type of paint to use when painting trim is oil-based paint. Oil-based paints provide a more durable finish and resist cracking over time, which will help keep the trim looking its best.
How much paint should I use for a trim project?
Painting trim is one of the best ways to spruce up the exterior of your home for very little cost. Whether you’re flipping a house or just looking to update the look of your house, painting the trim is an easy task that will produce instant results.
One question that commonly comes up when people are trying to decide how much paint to purchase for their project is how much paint should I use for a trim project. When applying paint to trim, the most important thing is to give yourself plenty of room to work. You don’t want to run out of paint before you reach the end of the trim line.
It depends on the size of your project and the type of paint you’re using. Most home improvement stores will have a chart near the paint colors with recommended amounts.
What brushes should I use when painting with a paint sprayer?
Everyone who has a paint sprayer knows it can be difficult to figure out which brush to use with the sprayer. There are three main types of brushes you should use:
1) Paintbrush
2) Pint (or paddle) paintbrush
3) Foam roller or roller cover
How to paint against trim?
A common question that homeowners have is how to paint against trim. This is an important detail when painting, but can easily be taken care of by simply covering the trim with a layer of painter’s tape before painting. This will not only give you a professional finish but will also make it easier to get around corners with your paintbrush or paint sprayer.
Conclusion:
If you’re looking to save time and effort, a paint sprayer can be a practical buy. The benefits include quick and easy painting, less mess, and the ability to use any type of paint. Now that you know how to paint trim with a paint sprayer, go out and find your perfect tool!